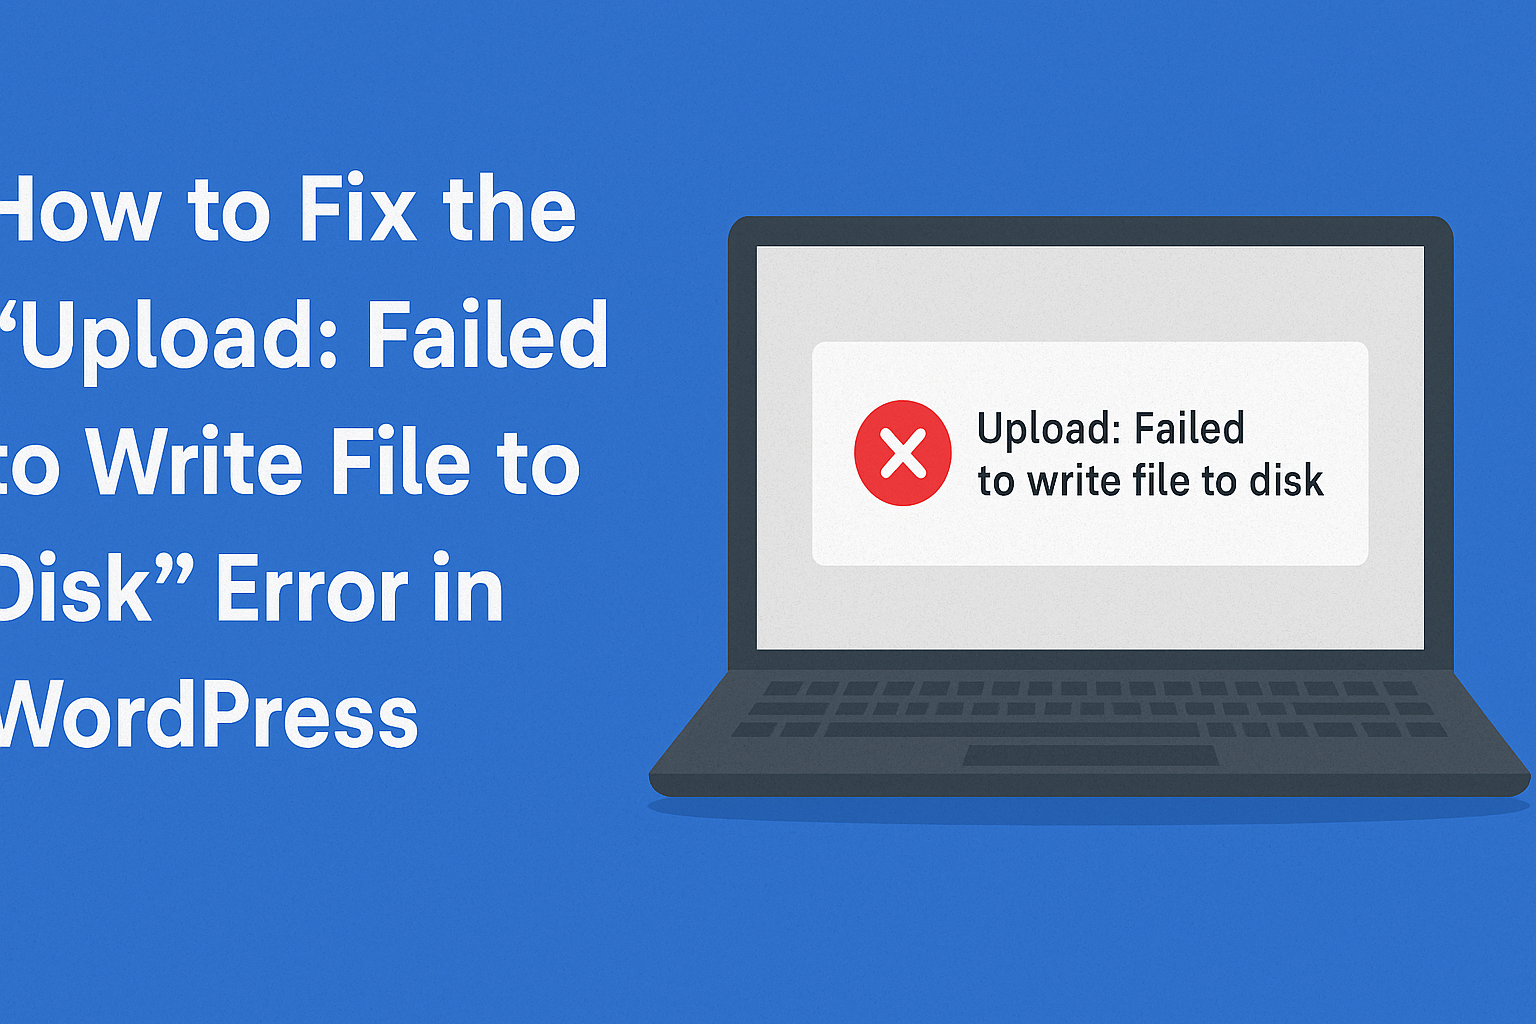
Upload: Failed to Write File to Disk
Encountering the “Upload: Failed to Write File to Disk” error in WordPress can be frustrating, especially when you’re trying to add media files or update plugins. This error typically indicates issues with file permissions, disk space, or server configurations. Understanding the root causes and implementing effective solutions is crucial to maintaining your website’s functionality.
2. Common Causes of the Error
Several factors can lead to the “Upload: Failed to Write File to Disk” error:
- Incorrect File Permissions: WordPress requires specific permissions to write files to the server. If these permissions are misconfigured, uploads can fail.
- Full Disk Space: Exceeding your hosting plan’s disk space quota can prevent new files from being uploaded.(Kinsta®)
- Temporary Folder Issues: WordPress uses a temporary folder for uploads. If this folder is full or misconfigured, uploads may fail.(Muffin Group)
- PHP Configuration Limits: Settings like
upload_max_filesizeandpost_max_sizein your PHP configuration can restrict file uploads.(Muffin Group)
3. Checking and Modifying File Permissions
Incorrect file permissions are a common culprit. To check and modify them:
- Access Your Site via FTP or File Manager:
- Use an FTP client like FileZilla or your hosting provider’s File Manager.(Rank Math)
- Navigate to the
wp-contentDirectory:- Locate the
uploadsfolder withinwp-content.(Kinsta®)
- Locate the
- Check Permissions:
- Right-click on the
uploadsfolder and select “File Permissions” or “Permissions.”(Rank Math)
- Right-click on the
- Set Correct Permissions:
- Set the numeric value to
755for directories and644for files.(Muffin Group)
- Set the numeric value to
- Apply Changes:
- Ensure you apply changes recursively to all subdirectories and files.
Proper permissions allow WordPress to write files to the server, resolving the upload error.(Kinsta®)
4. Clearing the WordPress Temporary Folder
WordPress uses a temporary folder for uploads. If this folder is full or misconfigured:(Muffin Group)
- Contact Hosting Provider:
- Reach out to your hosting provider to clear the temporary folder. This folder is often inaccessible via FTP.
- Define a Custom Temporary Directory:
- Add the following line to your
wp-config.phpfile:define('WP_TEMP_DIR', dirname(__FILE__) . '/wp-content/temp/'); - Create the
tempfolder withinwp-contentand set its permissions to755.(BlogVault)
- Add the following line to your
This ensures WordPress has a valid temporary directory for handling uploads.
5. Checking Disk Space Usage
Exceeding your hosting plan’s disk space can cause upload failures:(BlogVault)
- Check Disk Usage:
- Use your hosting control panel to view disk space usage.
- Free Up Space:
- Delete unnecessary files, backups, or unused plugins/themes.
- Upgrade Hosting Plan:
- If necessary, consider upgrading to a plan with more disk space.
Maintaining adequate disk space ensures smooth file uploads and overall site performance.
6. Adjusting PHP Configuration Settings
PHP settings can restrict file upload sizes:(Muffin Group)
- Access PHP Configuration:
- Use your hosting control panel or contact your hosting provider.(Muffin Group)
- Modify Settings:
- Increase
upload_max_filesizeandpost_max_sizeto accommodate larger files.(BlogVault)
- Increase
- Restart Web Server:
- After changes, restart your web server to apply new settings.
Proper PHP configurations prevent upload errors related to file size limits.(Muffin Group)
7. Conclusion
The “Upload: Failed to Write File to Disk” error in WordPress is often due to file permission issues, full disk space, temporary folder problems, or PHP configuration limits. By systematically addressing these areas, you can resolve the error and ensure seamless file uploads. Regular maintenance and monitoring can prevent such issues from recurring.(BlogVault)
FAQs
Q1: How can I check my site’s disk space usage?
A1: Access your hosting control panel and look for disk usage statistics, often found under sections like “Storage” or “Disk Usage.”
Q2: What are the recommended file permissions for WordPress directories and files?
A2: Directories should have 755 permissions, and files should have 644 permissions to ensure proper access and security.(BlogVault)
Q3: Can I change PHP settings without accessing the php.ini file?
A3: Yes, you can often modify PHP settings via your hosting control panel or by adding directives to your .htaccess file, depending on your hosting environment.
Q4: What should I do if I can’t access the temporary folder via FTP?
A4: Contact your hosting provider’s support team to assist in clearing or configuring the temporary folder, as it may not be accessible via FTP.
Q5: How do I create a custom temporary directory for WordPress?
A5: Add the following line to your wp-config.php file:
define('WP_TEMP_DIR', dirname(__FILE__) . '/wp-content/temp/');
Then, create the temp folder within wp-content and set its permissions to 755.
- Best investment apps 2025
- Make Money online high-paying survey websites
- Best 9 Ways to Fix Slow Internet Speed on Windows 11
- Best 8 way fix slow upload speed on both mobile and PC/laptop
- How to redirect posts WordPress

